Guide/Walk Through
September 11, 2019
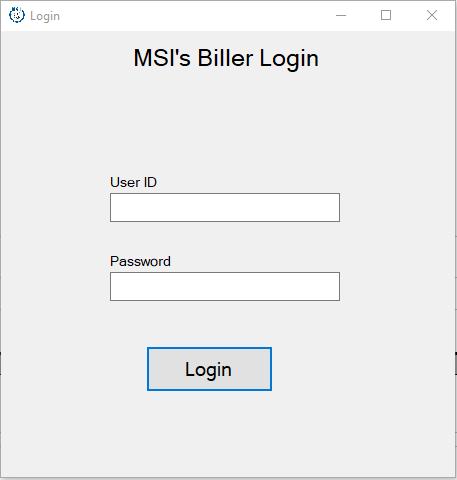
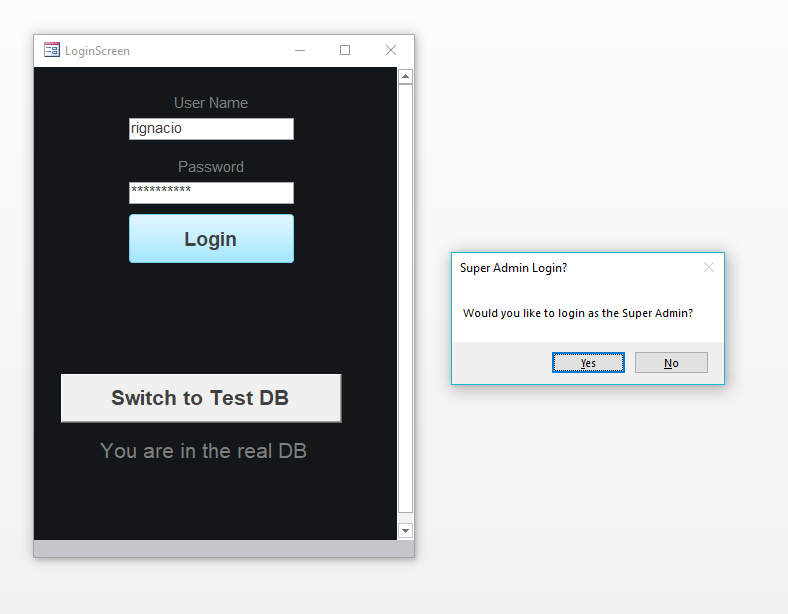
1. Login using your MSI Time User Name and Password
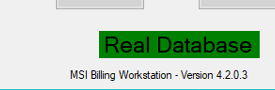
2. This form will show after you login (note: check the version of your MSIBW it must be 4.2.1.2 or Higher you can check it in the left most bottom corner of the form)
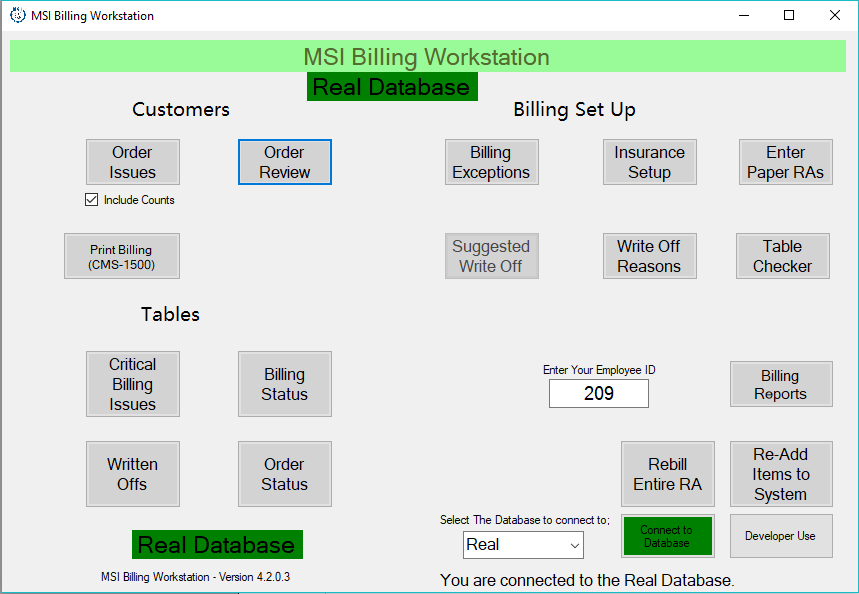
3. Hit this button located in the right most bottom corner of the main form.
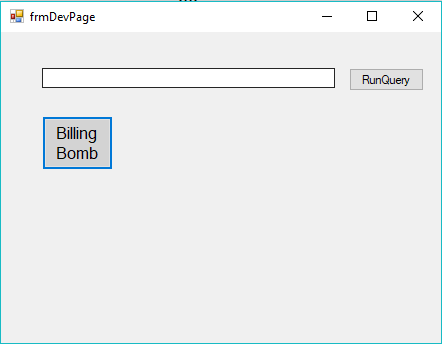
4. This for will show after hitting “Developer Use button”.
5. In this Part type the following SQL Command written on it and then HIT

6. Go to VPNSharedFileServer\Others and get the For RB NW as of (MonthDayYear).ods usually this is the format of the File or ask some one who is creating this file.
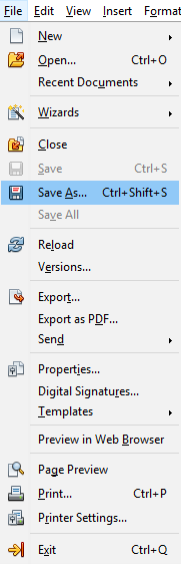
7. Convert this file to xls Click “File” button
8. Hit Save As
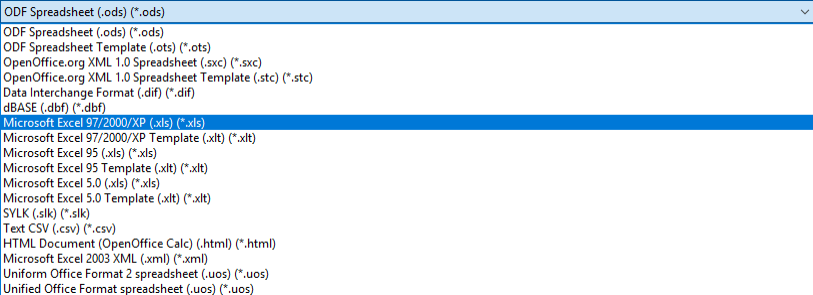
9. This form will show:

10. Save as Microsoft Excel 97/2000/XP (.xls) (*.xls)
11. Login as admin to MSAccess
NOTE: You don’t need to do steps 12 to 21 if you already added it in your MSAccess.
12. Click on EXTERNAL DATA tab

13. Click ODBC Database

14. Then this form will appear
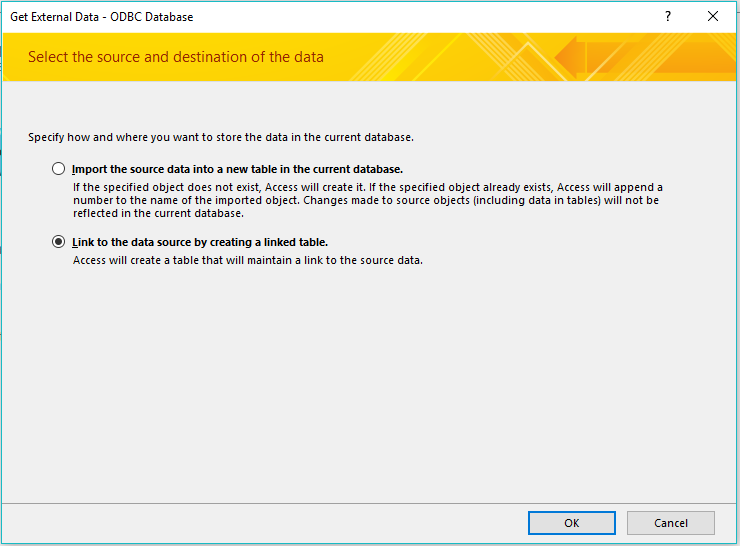
15. Then pick Link to the data source by creating a linked table.

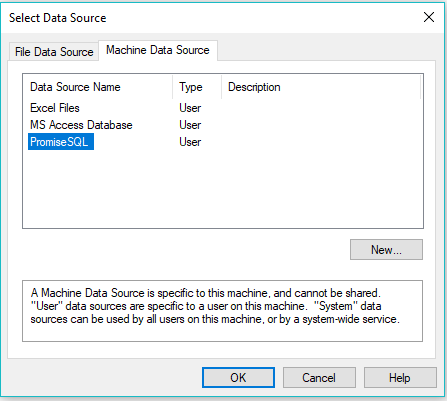
16. Go to Machine Data Source Tab.

17. Pick “PromiseSQL” Then Click “OK“
18. Then this Form will show.
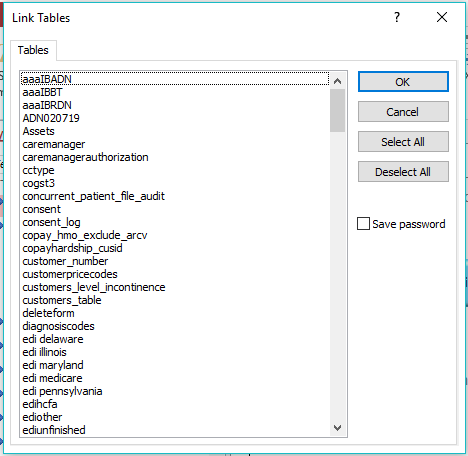
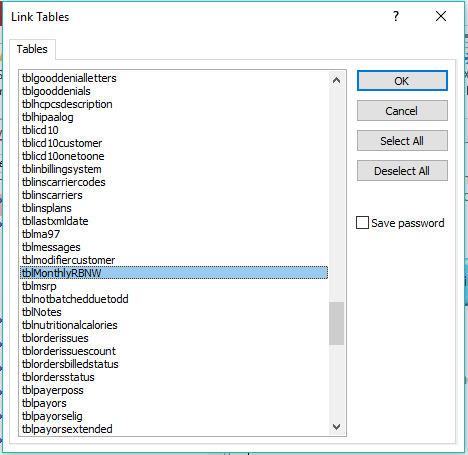
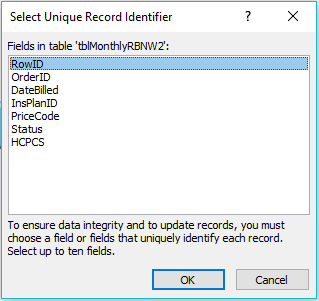
19. Look form “tblMonthlyRBNW” then Click “OK”.
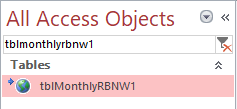
20. It will go to “All Access Objects” like this.

21. Pick Excel.

22. This form will show.
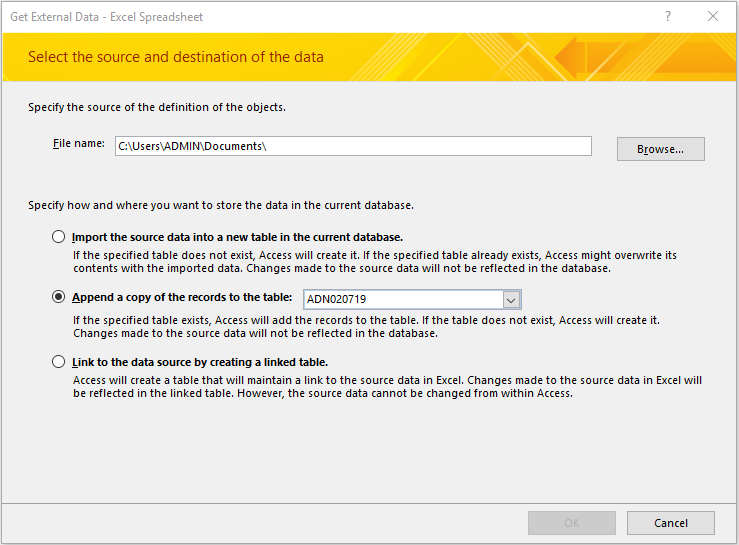
23. Click browse to find the file that you want to import.

24. Find the tblMonthlyRBNW1 (note: the name of the table depends on the name of the table in your MSACCESS but usually the it is named as “tblMonthlyRBNW” or “tblMonthlyRBNW1”) then click OK.

25. Then this form will show then click NEXT until you see figure 28.0

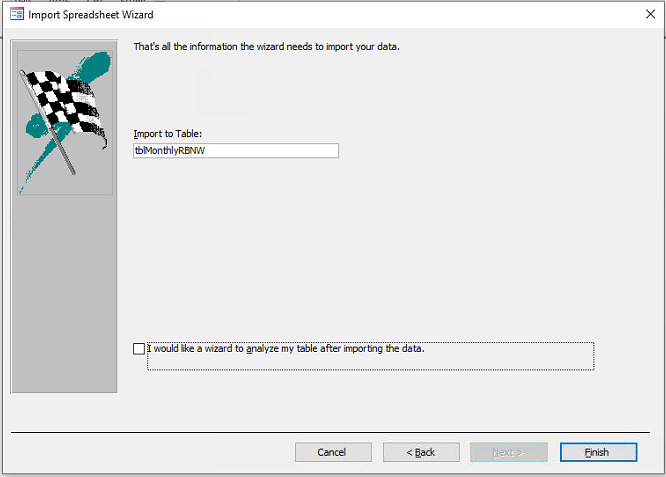
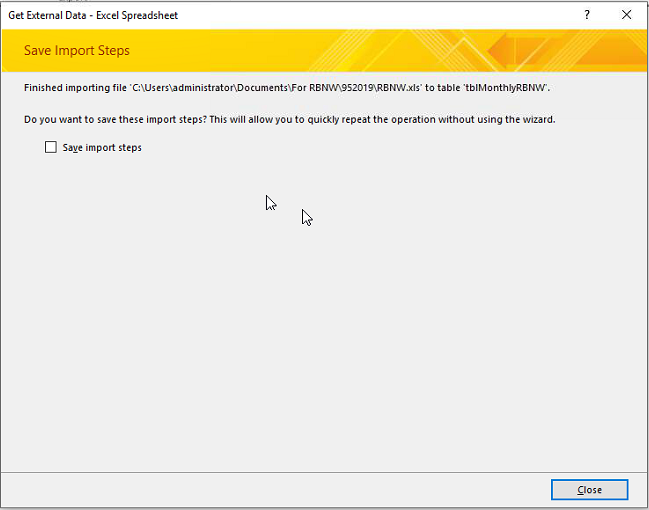
26. Then click “Finish” and wait until this form show, then Click “Close”.
27. Then go back to this form in MSIBillerWorkStation
28. Click this Button “Billing Reports” >>>>>>> “Billing Tables”
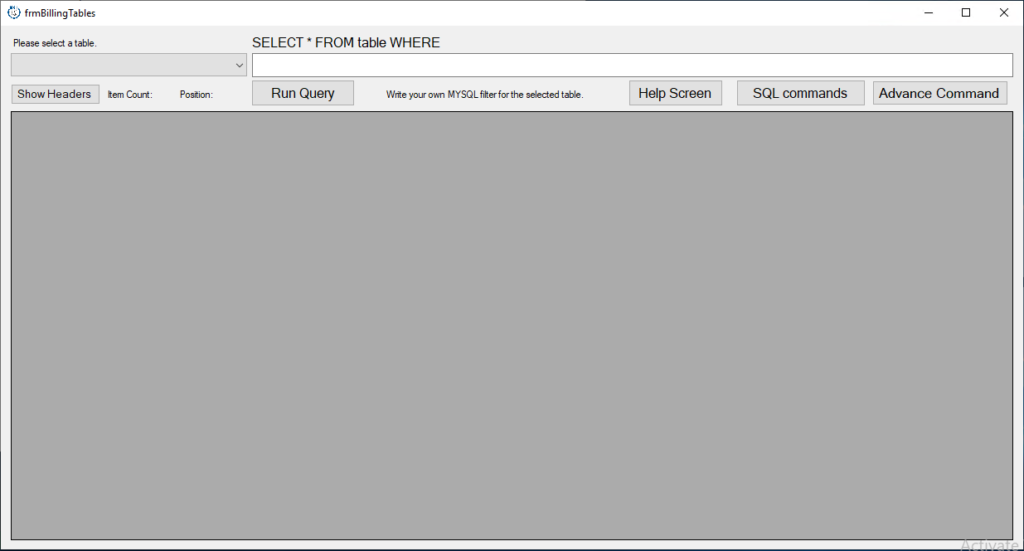
29. Click “Advance Command” so you can Type in any SQL Command you know it will turn in this color if it is activated “Advanced Command”.
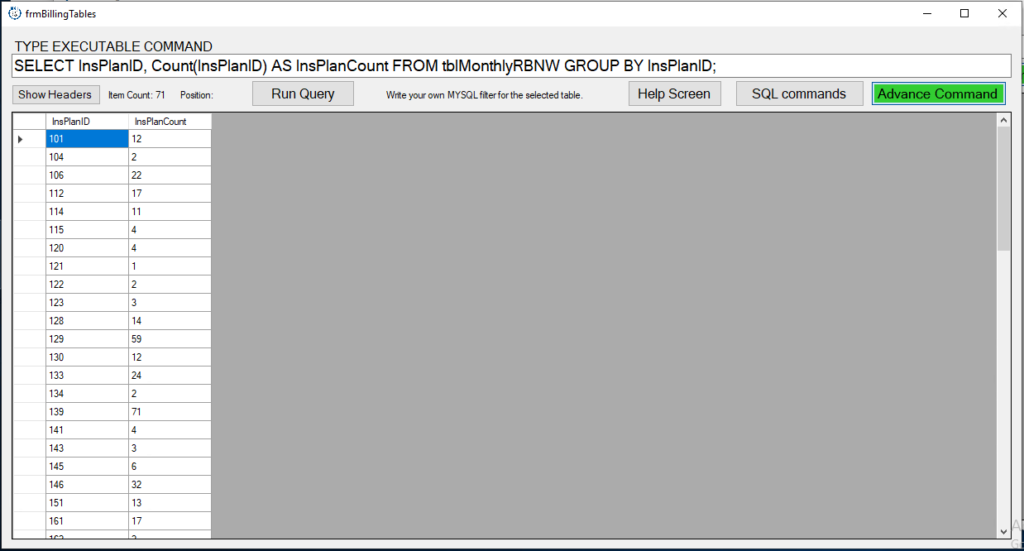
30. Now you can type the executable command in this part.

31. Type in this command “ SELECT InsPlanID, Count(InsPlanID) AS InsPlanCount FROM tblMonthlyRBNW GROUP BY InsPlanID; ” with out the “ ” as show in the figure then hit “ENTER “in your Keyboard.
32. Go back to frmDevPage and click BILLING BOMB button.
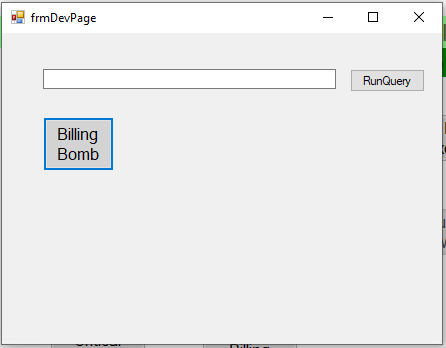
33. This form will show.
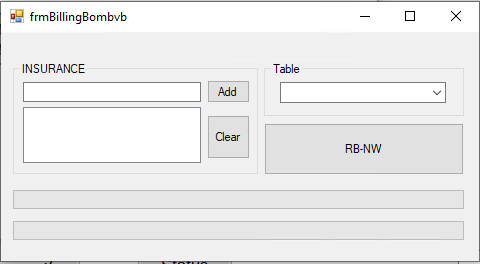
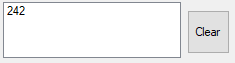
34. You will add all the insplanID that you Query in the billing tables here (note: Type in the insplanID then Hit enter in your KEYBOARD)

35. And you will see the added insurances in this part as shown in this figure.
38. Then if you’re done typing all the insurances HIT

39. Then wait for this Message box to popup (the number of items affected is depending on the number of items needs to be rebilled).
