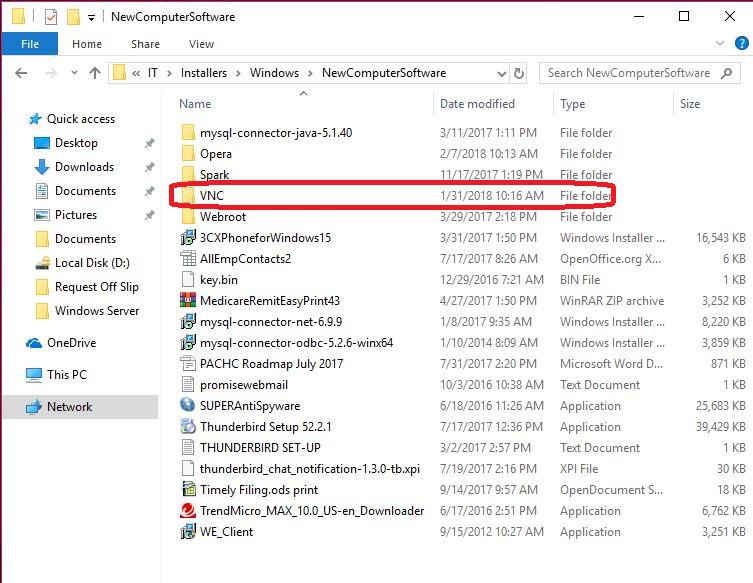
- Go to file:///Z:/IT/Documents/Installers/Windows/NewComputerSoftware”>\\192.168.1.8\VPNShared\IT\Installers\Windows\
NewComputerSoftware, find the VNC folder then click the tightvnc-2.8.5-gpl-setup-64bit windows installer.
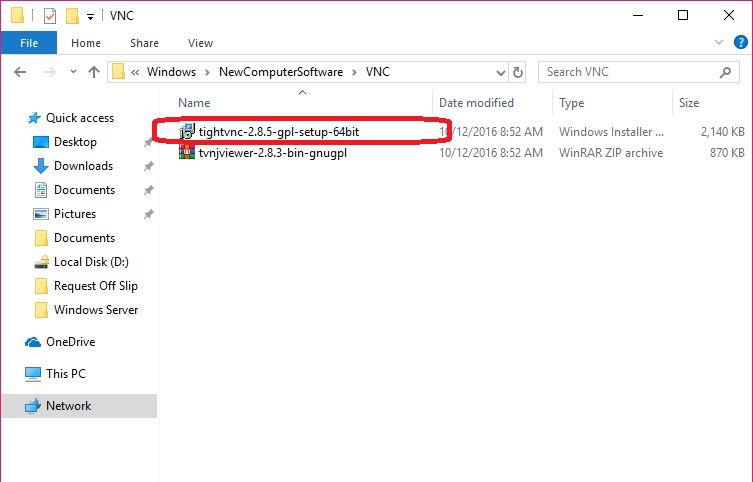
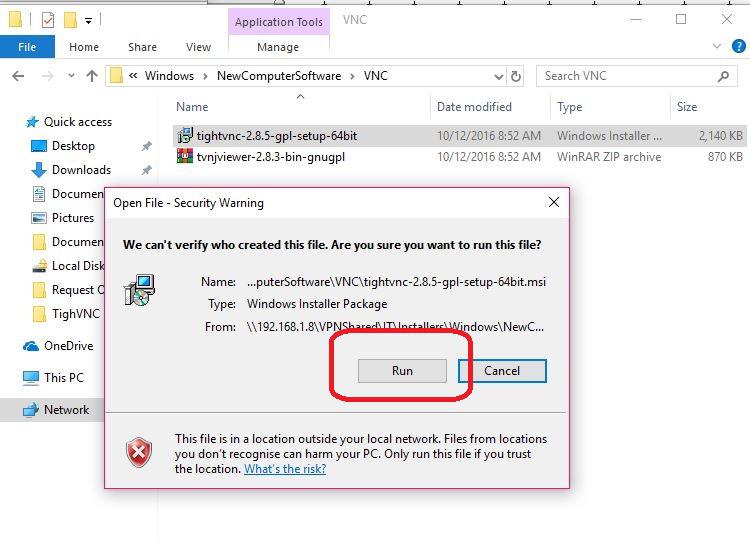
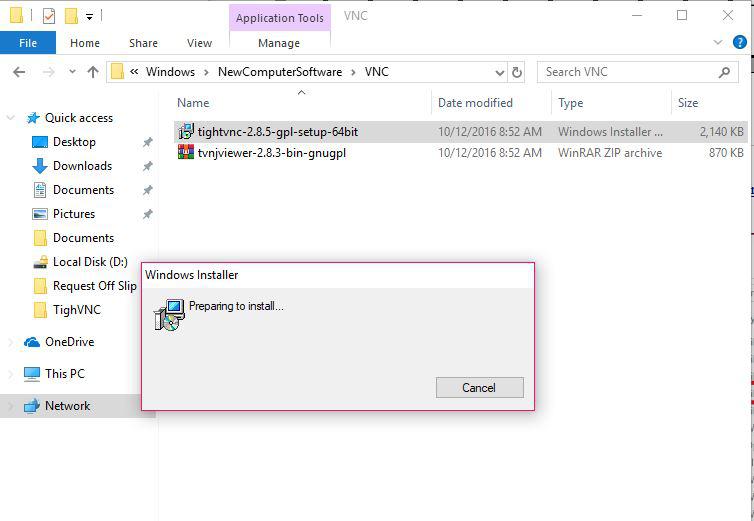
2.We can now install the TightVNC, Click the tightvnc-2.8.5-gpl-setup-64bit and hit Run.
3.Preparing to install.
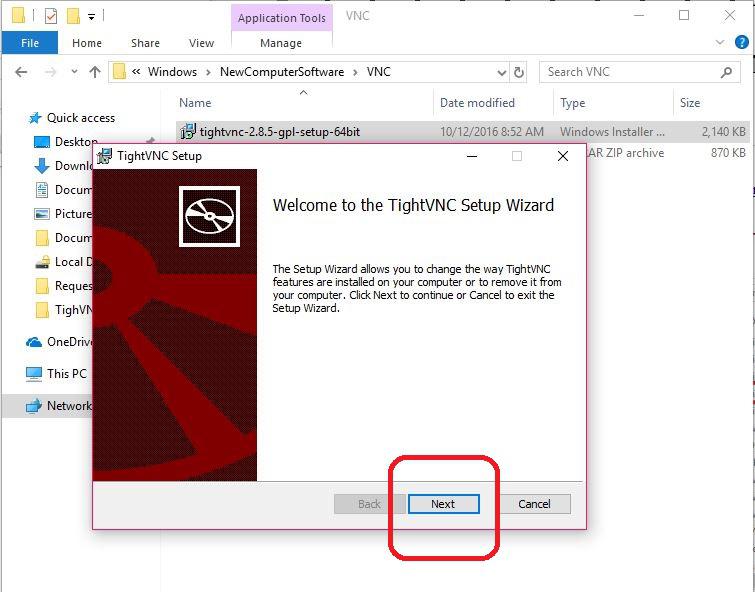
4.Hit Next
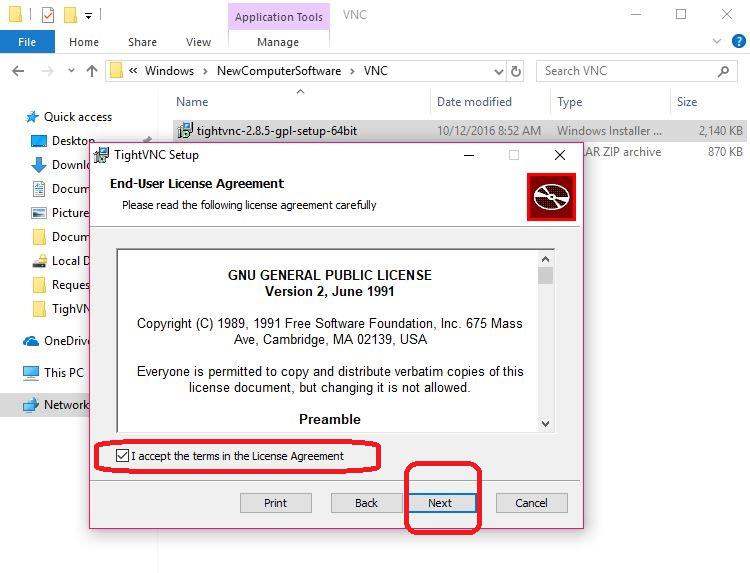
5.Click the box (I accept the terms in the License Agreement) then hit the Next.
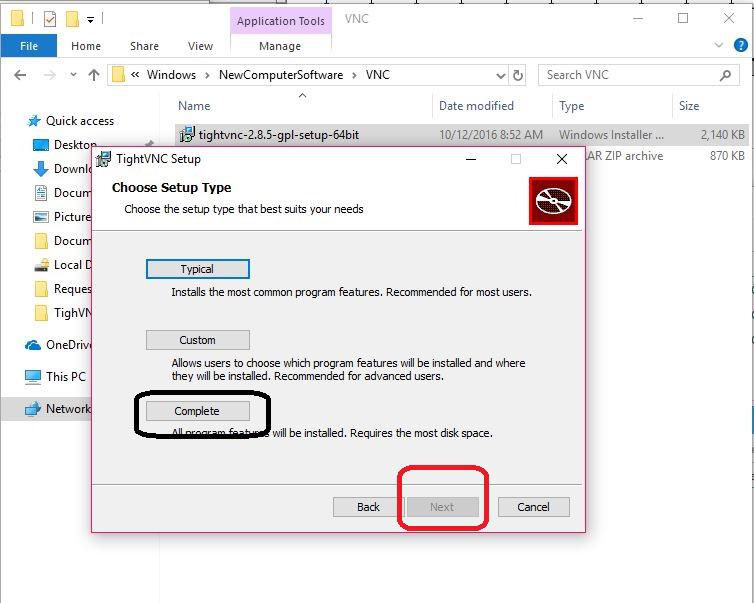
6.Choose the Complete Setup, then hit the Next.
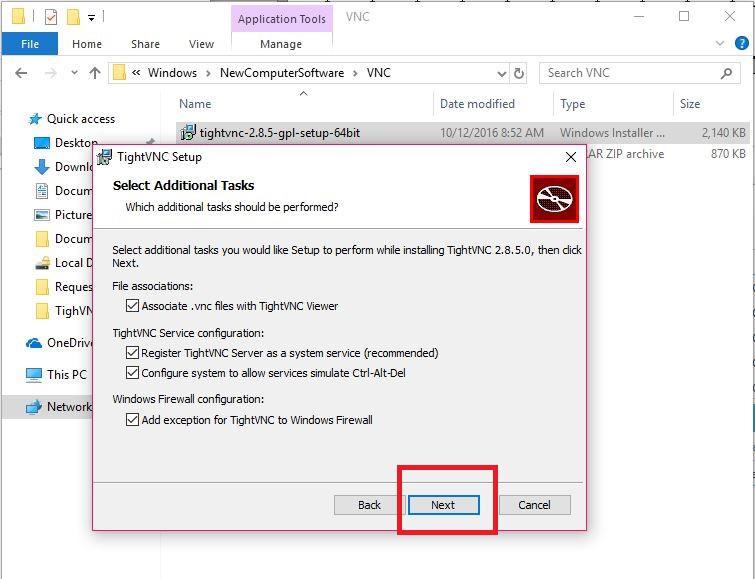
7.Hit Next
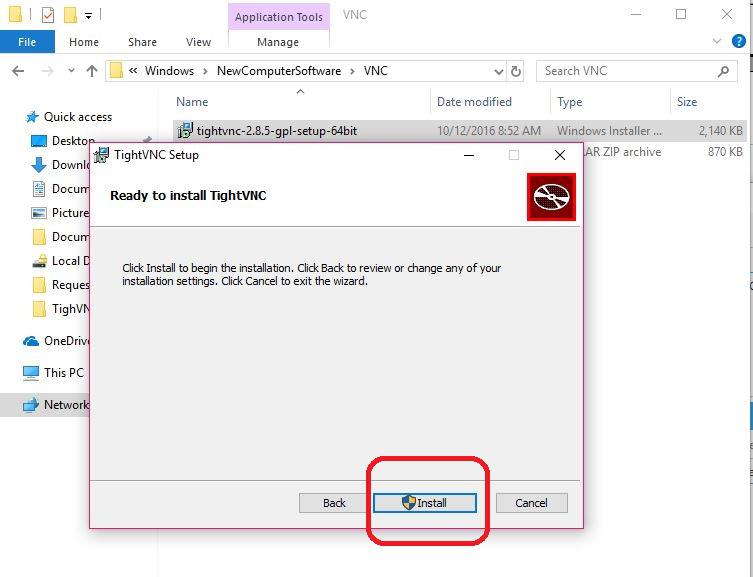
8. Hit Install
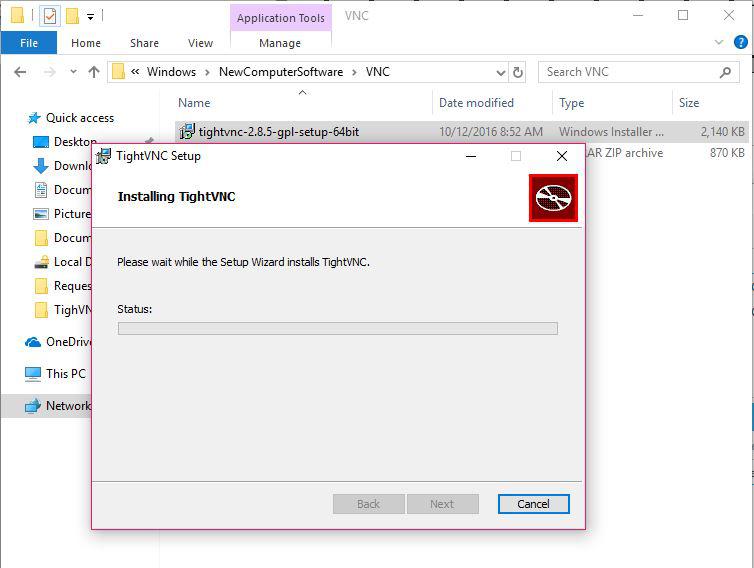
9. Now the TightVNC is installing.
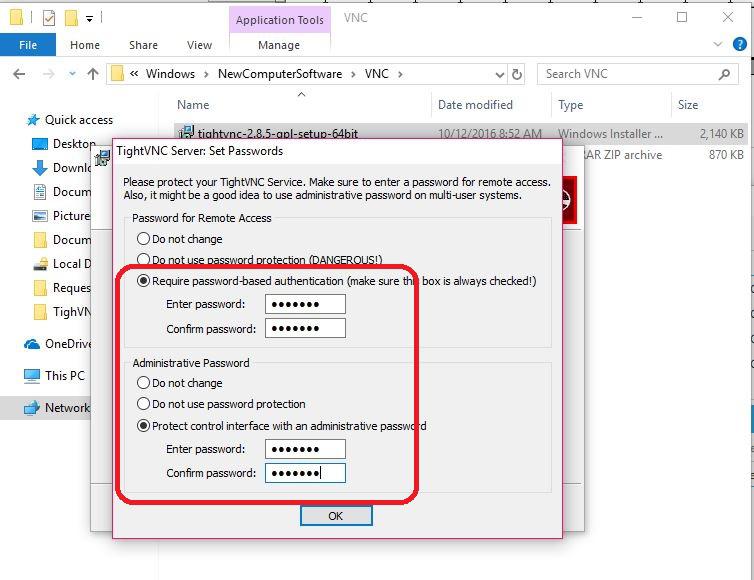
10.Set Passwords for Remote and Administrative Access
See below details for the password
- Require password-based authentication
- Enter password: CTB99#!
- Confirm password: CTB99#!
- Protect control interface with administrative password
- Enter password: CTB99#!
- Confirm password: CTB99#!
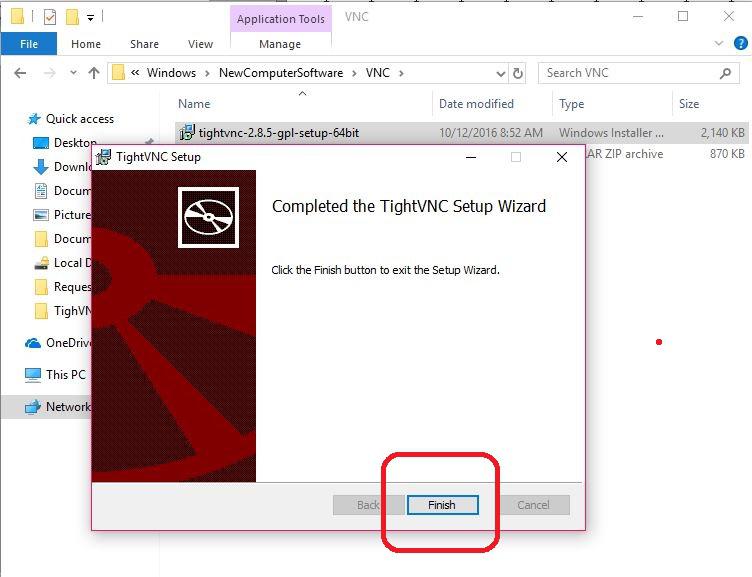
11.Hit the Finish. Now the installation is successful. Congratulation