Setup Guide For Production
July 17, 2019 Version 1.0
A. Getting PH Shared File Server Map Access File

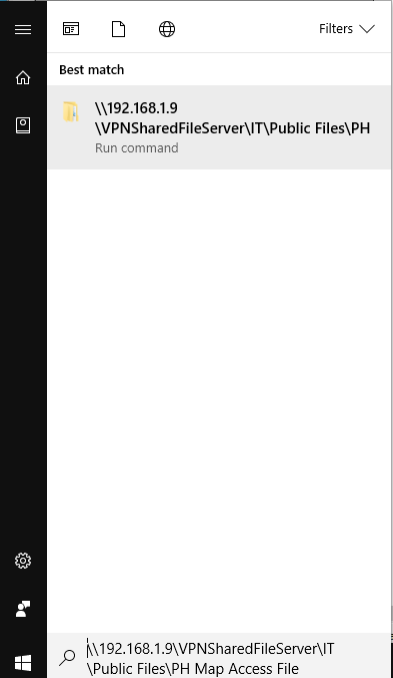
1.To get the map access file first goto the VPNSharedSharedFileServer click on windows button and type \\192.168.1.9\VPNSharedFileServer\IT\Public Files\PH Map Access File then hit Enter
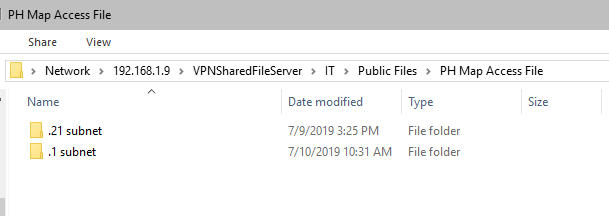
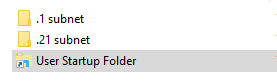
2. Open your proper subnet. Open your folder (ex. .21 subnet)
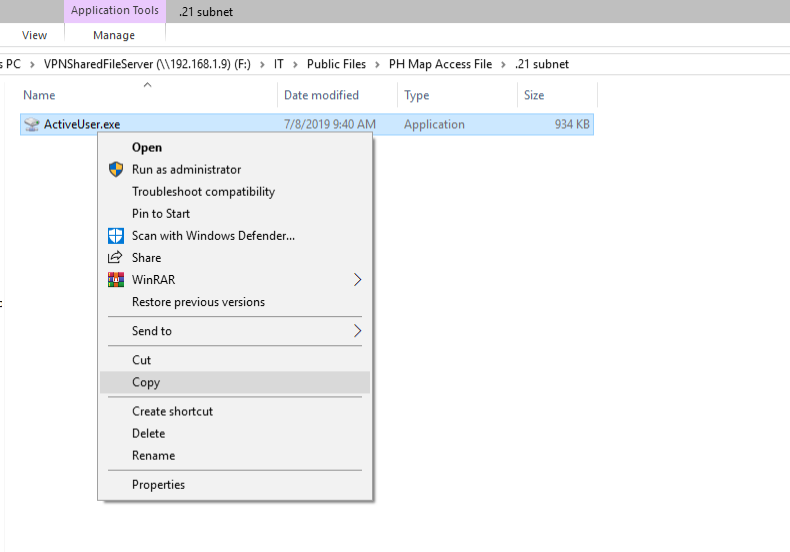
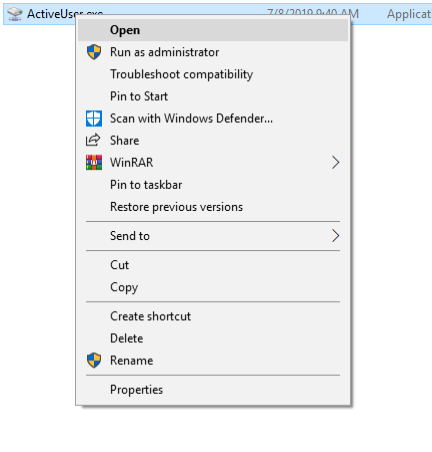
3. Select and copy ActiveUser.exe
4. Continue to “Adding the map access file to the Start-Up”
B. Adding the map access file to the Start-Up
- To get the map access file first goto the VPNSharedSharedFileServer click on windows button and type \\192.168.1.9\VPNSharedFileServer\IT\Public Files\PH Map Access File then hit Enter
- Open “User Startup Folder”
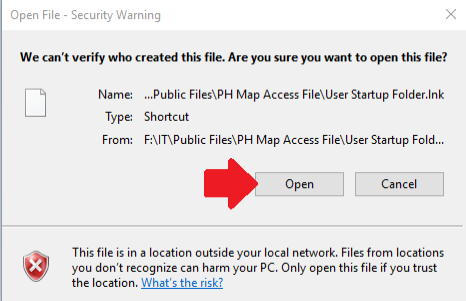
***Note: If prompt with Open File – Security Warning, press “Open” to continue.
3. Once in the Start-up folder paste the map access file there.
C.Running map access file
- Right click on map access file and press Open
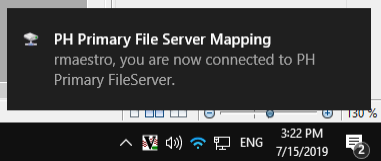
2. A notification will appear to your lower right if it has connected successfully.