Operational Guide For Production
August 26, 2019 Version 1.0
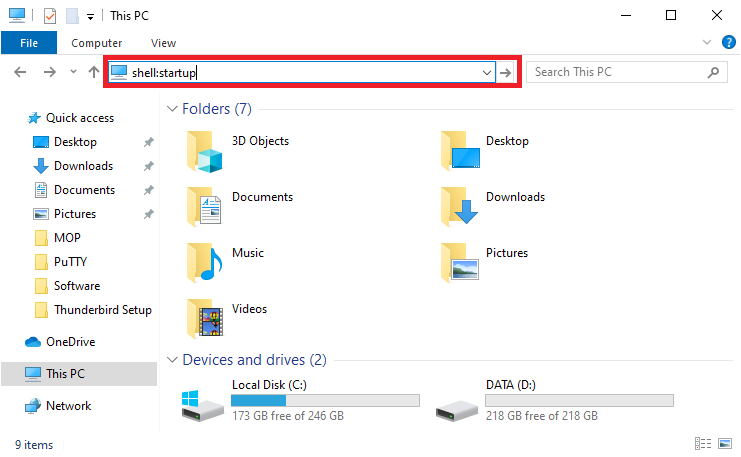
A. Mapping a VPNSharedFileServer in Startup
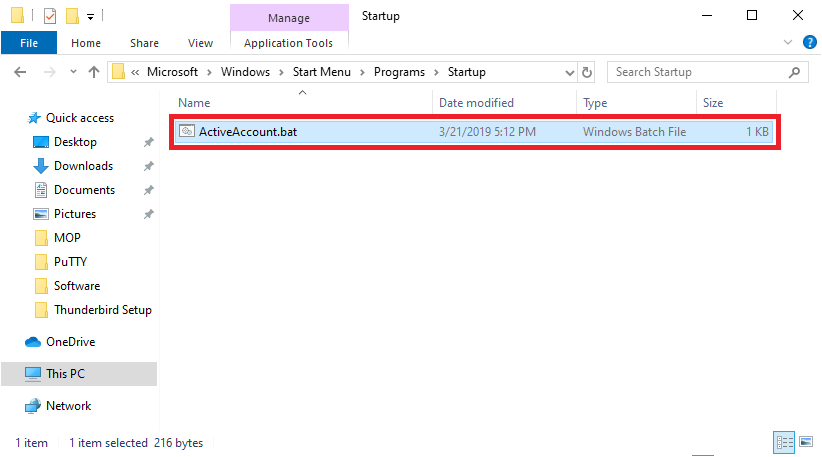
- Open File Explorer and type to address bar “shell:startup”
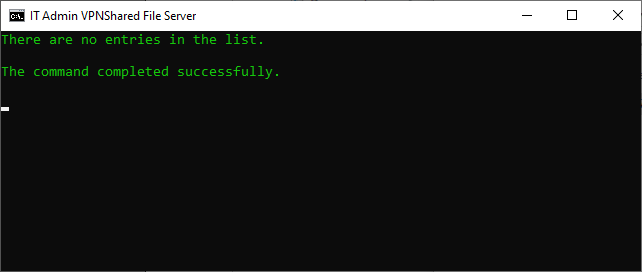
2. Click the batch file or executable file in startup.

3. If you see this, it is all done.
B. Getting Batch file or executable file to have an access in VPNSharedFileServer.
- Click Start and type “run” or press Windows Logo + R and type \\192.168.1.8

2. Look for VPNSharedFileServer_BackupFolder\VPNSharedBatchFiles
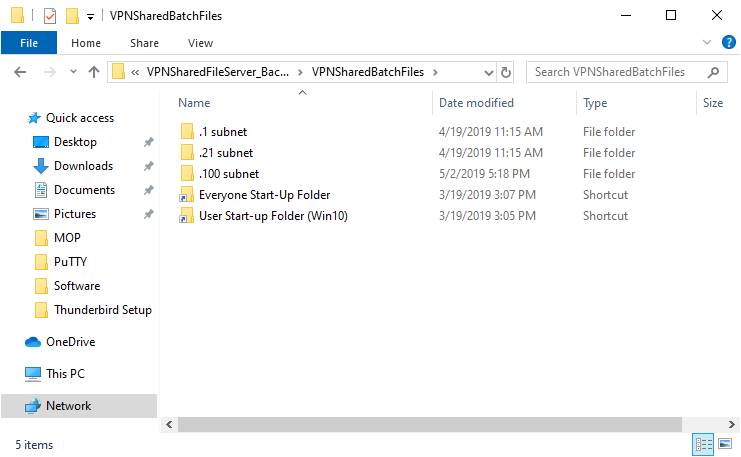
3. If you are in PH, the folder you can open is “.21 subnet”, in US, you can open is “.100 subnet” but if you use the server, you should open “.1 subnet”. Example in PH, use “.21 subnet” and copy the ActiveAccount.bat
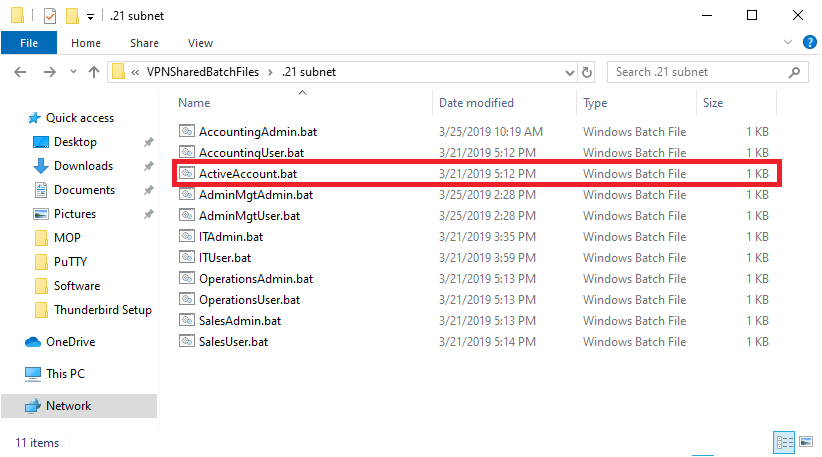
4. Go back to shell:startup and paste the copied bacth file and run it.
5. It is all done.
C. Manual mapping of VPNSharedFileServer
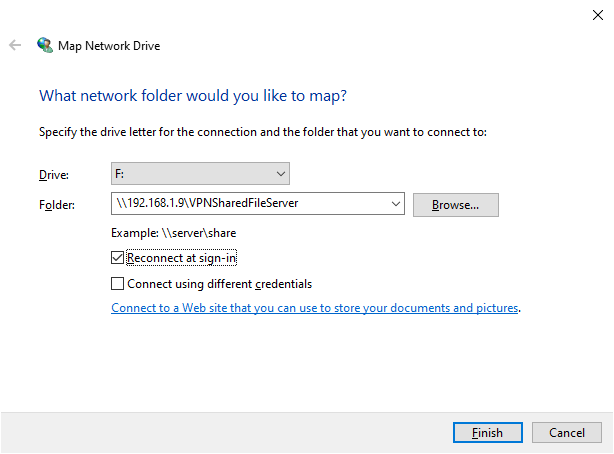
- Open File Explorer and right click the “This PC” and click Map network drive

2. Select the F: in Drive, type in folder: \\192.168.1.9\VPNSharedFileServer and check the “Reconnect at sign-in”
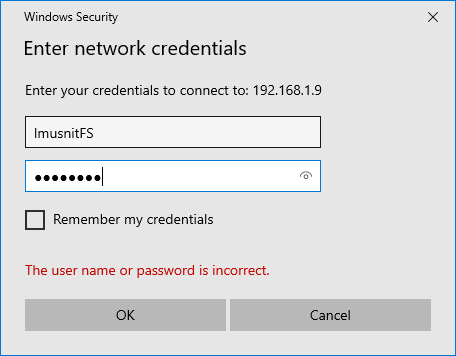
3. Type your username + FS. Example, lmusnitFS and the default password is “Medical1”
4. If it is done, this folder will pop-up.
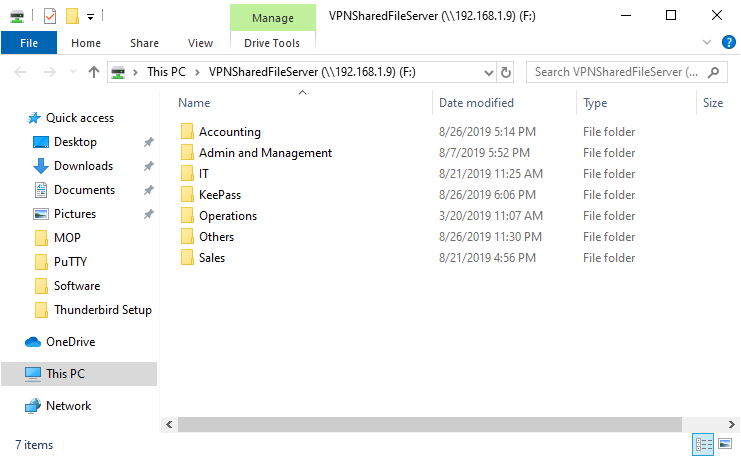
5. It is all done.