Setup Guide For Production
March 20, 2019 Version 1.0
@2019 MSI LLC
All Rights Reserved
IT Department
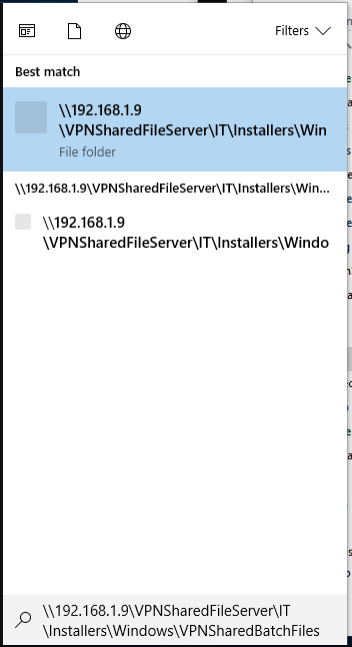
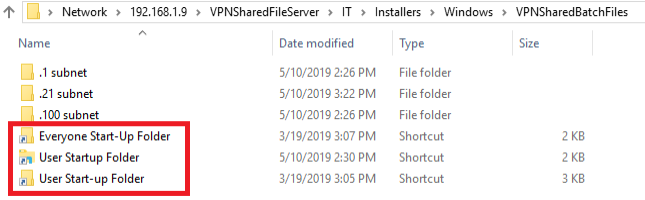
1. To get the batch file first access the old VPNShared click on windows button and type \\192.168.1.9\VPNSharedFileServer\IT\Installers\Windows\VPNSharedBatchFiles then hit Enter
2. Open your proper subnet,
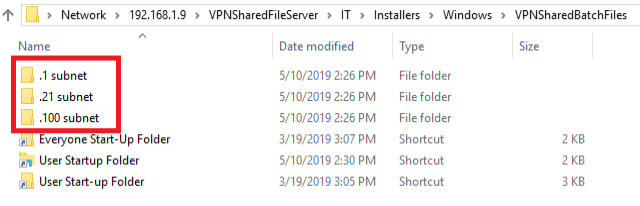
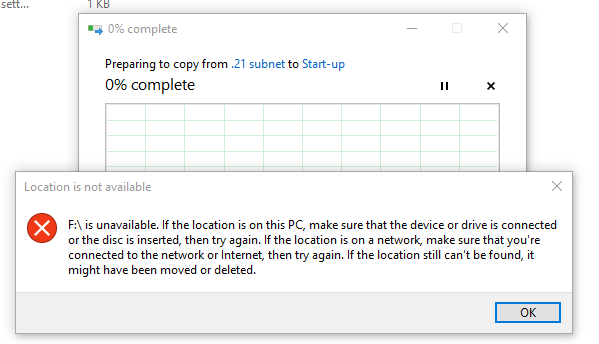
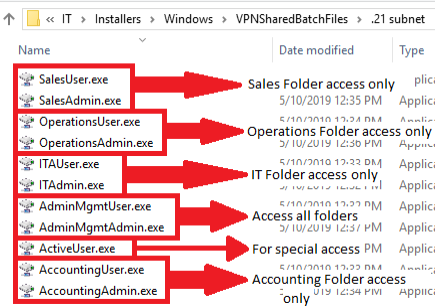
3. Double click the subnet you are in (ex. .21 subnet)and select only one of the access file that is needed for the user and then copy it to the start-up folder
*Note: for US open .100 subnet
for PH open .21 subnet
4. After copying the access file, click the back button.

5. You will now be back to VPNSharedBatchFiles, select only one of the start-up folder and double click it
6. Once in the Start-up folder paste the access file there. If prompted, click on Continue and input the administrator’s credentials if required.
- If copying fails, paste it anywhere in the desktop, then cut the batch file move it to the Start-up folder. If it prompt, click on Continue and input the administrator’s credentials if required.