8. Check the consumer’s account for any upcoming or recently shipped orders.
- Printed upcoming orders.
- i. Representatives need to take the following steps:
- 1. Pull the order.
- 2. Shred the order.
- Have the order deleted by a proper representative.
- i. Representatives need to take the following steps:
- Recently shipped but not yet delivered orders.
- i. Representatives must notify the proper representative to issue a UPS intercept to have that package brought back to our company.
- Recentlydelivered orders.
- i. If an order was delivered BEFORE the consumer passed away we do not have to issue a calltag.
- ii. If an order was delivered AFTER the consumer passed away, we have to issue calltag depending upon the products.
- 1. If the consumer received 4 bags of products OR less, we do NOT issue a calltag. The representative in charge if the write offs must be notified and a rebill request will be sent to the insurance company.
- 2. If the consumer received more than 4 bags a calltag must be issued.
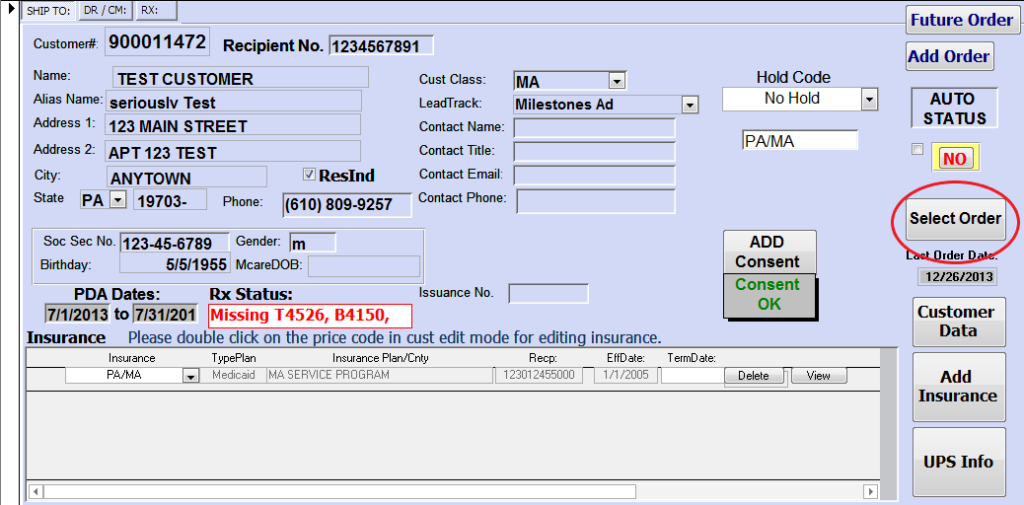
9. Make sure you check to see if there are any outstanding claims for this consumer’s account.
- Representatives should click on the “Select Order” icon? located in the picture below:
- Once selected “Order Select” screen will appear.
- i. From here, representatives need to look at the Total Payments and Difference columns located in the picture below.
- 1. “TotPmt”(Total Payments): This column shows the amount that was paid for an order.
- 2. Diff (Difference): This column shows the amount that has not been paid for an order.
- i. From here, representatives need to look at the Total Payments and Difference columns located in the picture below.

ii. If there is an amount showing in the “Difference” column representatives need to bring the consumer to the attention of a biller; so that they may investigate the issue further.
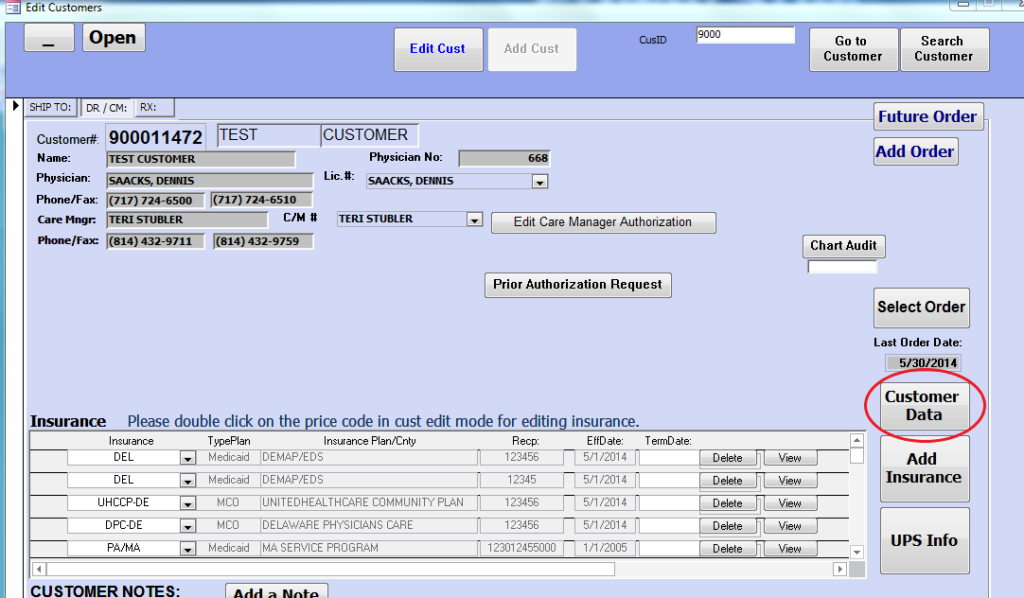
10. Click on the “Customer Data” button, located underneath the Hold Codes (in the picture below):
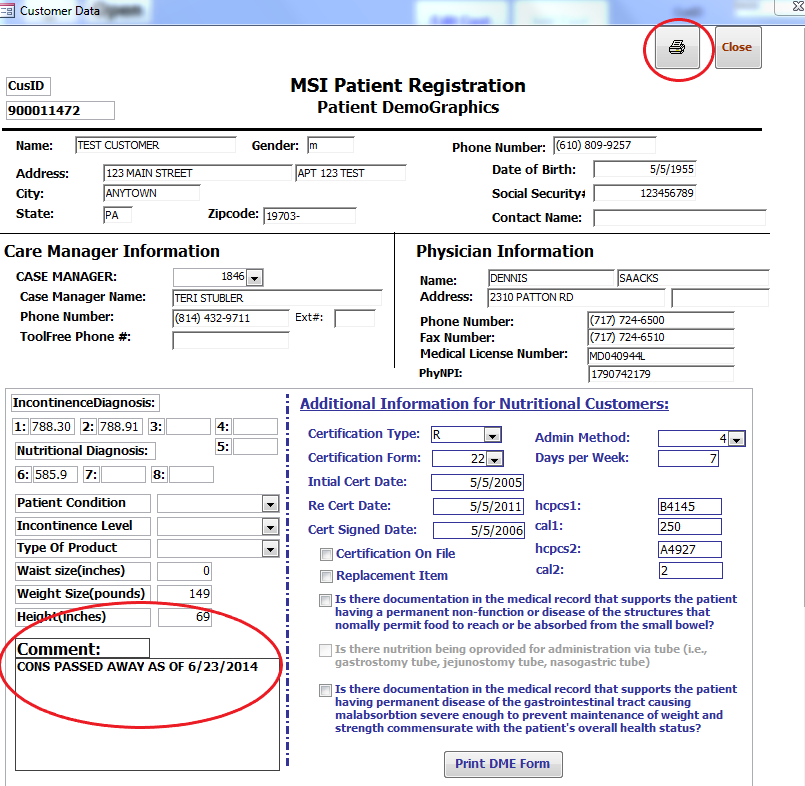
11. In this Customer Data window, representatives need to enter a note under the “Comment” section (bottom left hand corner of the screen).
- The Comment not MUST include the date and the reason for termination.
12. Select the “Printer” icon (in the picture below). This will print out a copy of the data, that must be filed away in the customer’s chart.
13. Select “Close” to get the data screen (located in the top right hand corner).
14. Find the correct consumer’s chart (verify the customer ID number to ensure you have the correct consumer) pull it, write the word “Retention” across the front of the file: in addition to the year that the consumer’s account went into retention. In the past we used to add ten to the retention year since we have to keep records on file for a certain amount of years, but this is no longer the way it should be done.
- Accurate example: Retention 2014
- Inaccurate retention: Retention 2024
15. The printed data sheet should be filed away in the customer’s chart.
16. The chart should then be filed away in the retention section alphabetically.