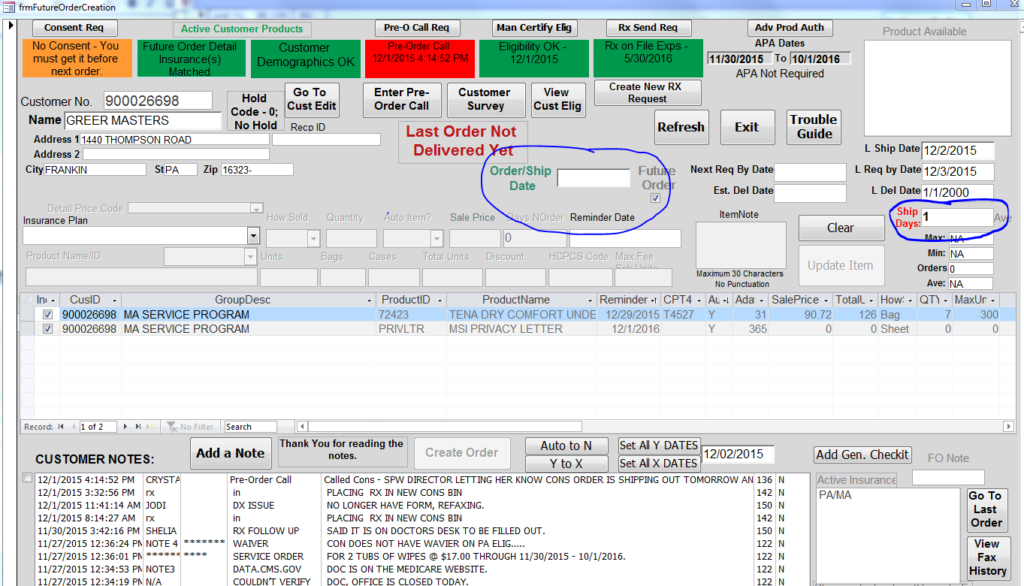
9. Under the “Include” column, select the box next to the items that should be in the order you wish to create. If an item is checked or highlighted the system will include it when the order is created.
10. After entering the information for each requested item representatives should take a moment to verify that the Future Orders Table is correctbefore moving to the next step. Verify that the entered product is correct, that the prescription covers the units in the order, etc. before continuing.
- If an error is made AFTER the order is created, representatives must have the order deleted to correct the changes. Simply deleting lines, or changing the dates on the created order will cause issues on the Future Orders Table and is NOT acceptable.
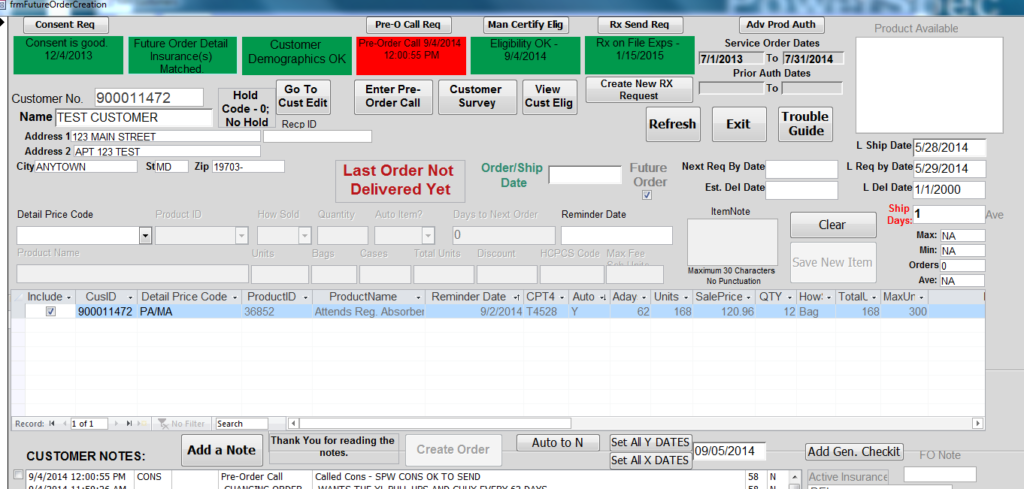
11. Read the notes thoroughly to ensure that the order has been made correctly.
- Representatives should note that the “Create Order” icon is not selectable; and a notation says “Please read the notes before creating an order” (located in the picture below).
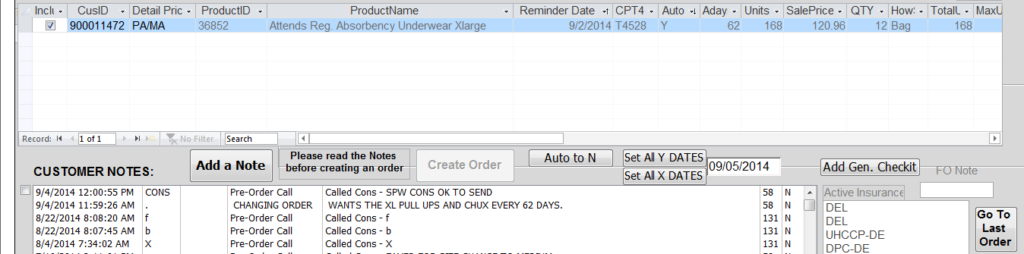
12. Select the box located at the bottom of the screen under “Customer Notes” to verify that you have read the notes (located by the arrow in the picture below) For a first order go First Order procedure below.
13. Select the “Refresh” button.
14.The notation that asked representatives to read the notes should now be changed to “Thank you for reading the notes” and representatives should now be able to select the “Create Order” icon.

15. Select the “Create Order” button.
16.The “Order Form” will populate.
17.Representatives should take a moment to once again verify that the Future Orders Table is correct before moving to the next step. This is the final chance for representatives to catch any errors that may have occurred.
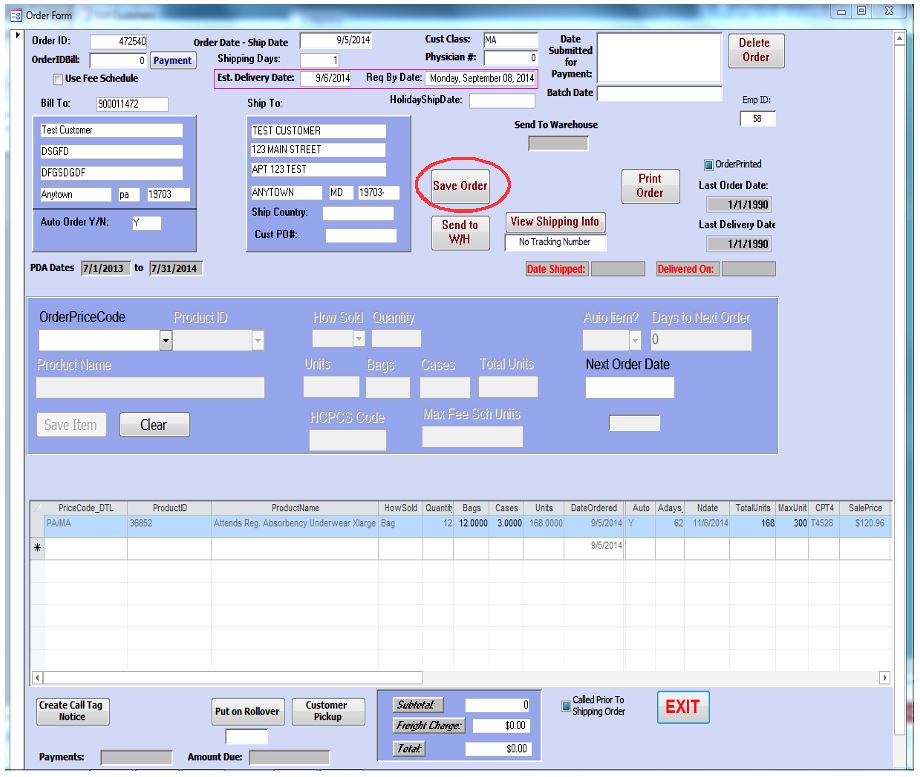
18. Select the “Save Order” button (located in the picture above)
- After doing so representatives may receive a few pop ups (reviewing the notes, the prescription, etc.). They MUST be read through before selecting “OK”. Sometimes the system may catch an error that a representative did not notice.
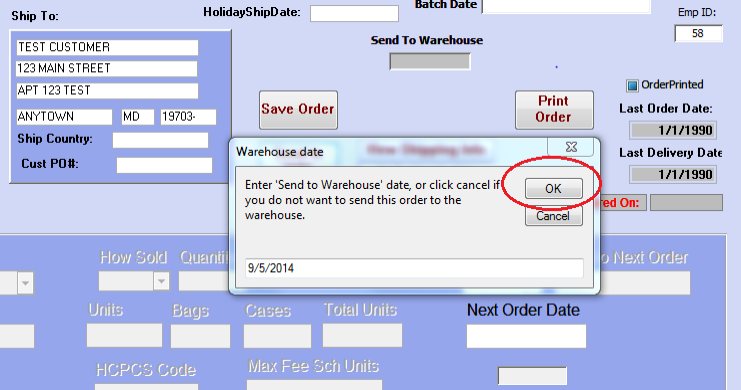
19. Select the “Send to W/H” button (today’s date will populate) then select “OK”.
20. Order form will open-review carefully- this is the last chance to verify order is correct.
21.After order form closes check FO table and dates
- If RX is expiring within 6 weeks send new RX. Update reminder date to 1 week prior to next ship date
- If an authorization or service order is expiring within 6 weeks, click on the Adv Pro Auth button and select the type of auth needed. Change the reminder date to 1 week prior expiration date
First Order
- Follow above procedure to step 12
- Using Before Sending Order Checklist, verify all required information.
- Fill in Order ship date, uncheck Future Order button and Ship Days
- PA, DE, NJ Ship Days = 1
- OH Ship days = 2
- IL Ship days = 4
- Refer back to step 13 to the end to complete the order
- If AOB is in CONS file can go to file room. If NO AOB, file in the AOB drawer with the appropriate date post it and alphabetical by last name in that date section.